Creating a Product Lightbox
This is my first in a series of videos to help photographers and videographers with DIY solutions. This first project is to create a lightbox that you can use to take product photos.
Some of these parts you may have laying around the house and others you can grab from a local dollar store for under $20.
Here’s what you’ll need:
- 5 x white foam core boards (20” x 30”)
- 1 x white poster board (20” x 30”) (roll of white paper as a better alternative)
- Multi-purpose Velcro ties normally used for cable management
- Stop slip pads for rugs
- Double-sided tape or mounting squares
- Roll of clear packing tape
- A translucent plastic or paper as a diffuser
- A light source (LEDs or home lamp)
Tools you will need:
- An Exacto knife (razor blade)
- Scissors
- A straight edge to guide your cuts. A ruler will work.
- A tape measure or long ruler
Step 1: Cutting
Cut all of your foam core into 20” squares. Be careful not to cut yourself or the floor. You can use a craft cutting board or household cutting board to prevent cutting the floor.
Step 2: Taping
Using the template, I’ve provided above, lay out your pieces, and tape your foam core together. Remember that if you want it to fold, put the tape on the correct sides, and make the beveled edges as indicated in the diagram. The beveled edges will help fold the boards that are folding on the opposite side of the tape. It’s a little tricky to cut but it doesn’t have to be perfect. Be careful not to cut yourself or the floor.
Step 3: Velcro
Using the Velcro and double-sided pads or double-sided tape, add the Velcro pieces as shown in the diagram. The best place to hold it together is at the corners. You can add more than me if you want, but really the four corners I have chosen should be more than enough. All the Velcro should be placed on the outside of the lightbox. This will prevent unwanted black marks on any reflective pieces that you may be taking photos of.
Step 4: Non-Slip Pads
This step is not entirely needed, but I highly recommend it. Because the lightbox is so lightweight, it will tend to move around on you and if you have a shot all setup or you have a liquid in there, you wouldn’t want it to move.
Step 5: Lighting
Your lighting will be one of the more important parts here. You can use almost any house lamp. The wider the spread of light the better. You want to try to get as soft a shadow as possible. If you do decide to use LED lights, try to get daylight if possible. The lights I found at the dollar store were way too blue and not a good option to use, so you can use a lamp or a cheap little LED video light like the one I use here. Once you have decided on your lighting, you can set it up on the top inside of the lightbox. For my setup, I cut a hole that was slightly smaller than my light so that it can rest it on the top. Alternatively, you can line the inside of the box with your LED lights by taping them in. To prevent harsh shadows, you should add some kind of diffusion. I used a semi-opaque plastic table cloth and doubled it up to give a little extra diffusion. You may be able to find something a little better than this like diffusion paper or something like that. If you are using house lamps, be careful not to put them too close or you could melt the plastic or burn the paper.
Step 6: BONUS – Bounce Cards
For the opening in the front of the box, it is a good idea to use your leftover pieces of foam core as bounce cards. You can configure this however you like. These bounce cards will help reflect light back to your subject and fill in some of the shadows.
Step 7: Seamless Background
For most of your standard e-commerce style images, you will be using a white background, so we are going to use a piece of white poster board and fit it into the box on the back curving and covering the back-bottom seam. If you are able to find a roll of white paper or something a little longer than poster board, that would work even better. This will allow you to go all the way from the front to the back top to take full advantage of your real estate. Don’t be afraid to get creative with this and experiment with different colors of paper and lights to see what kind of results you get.
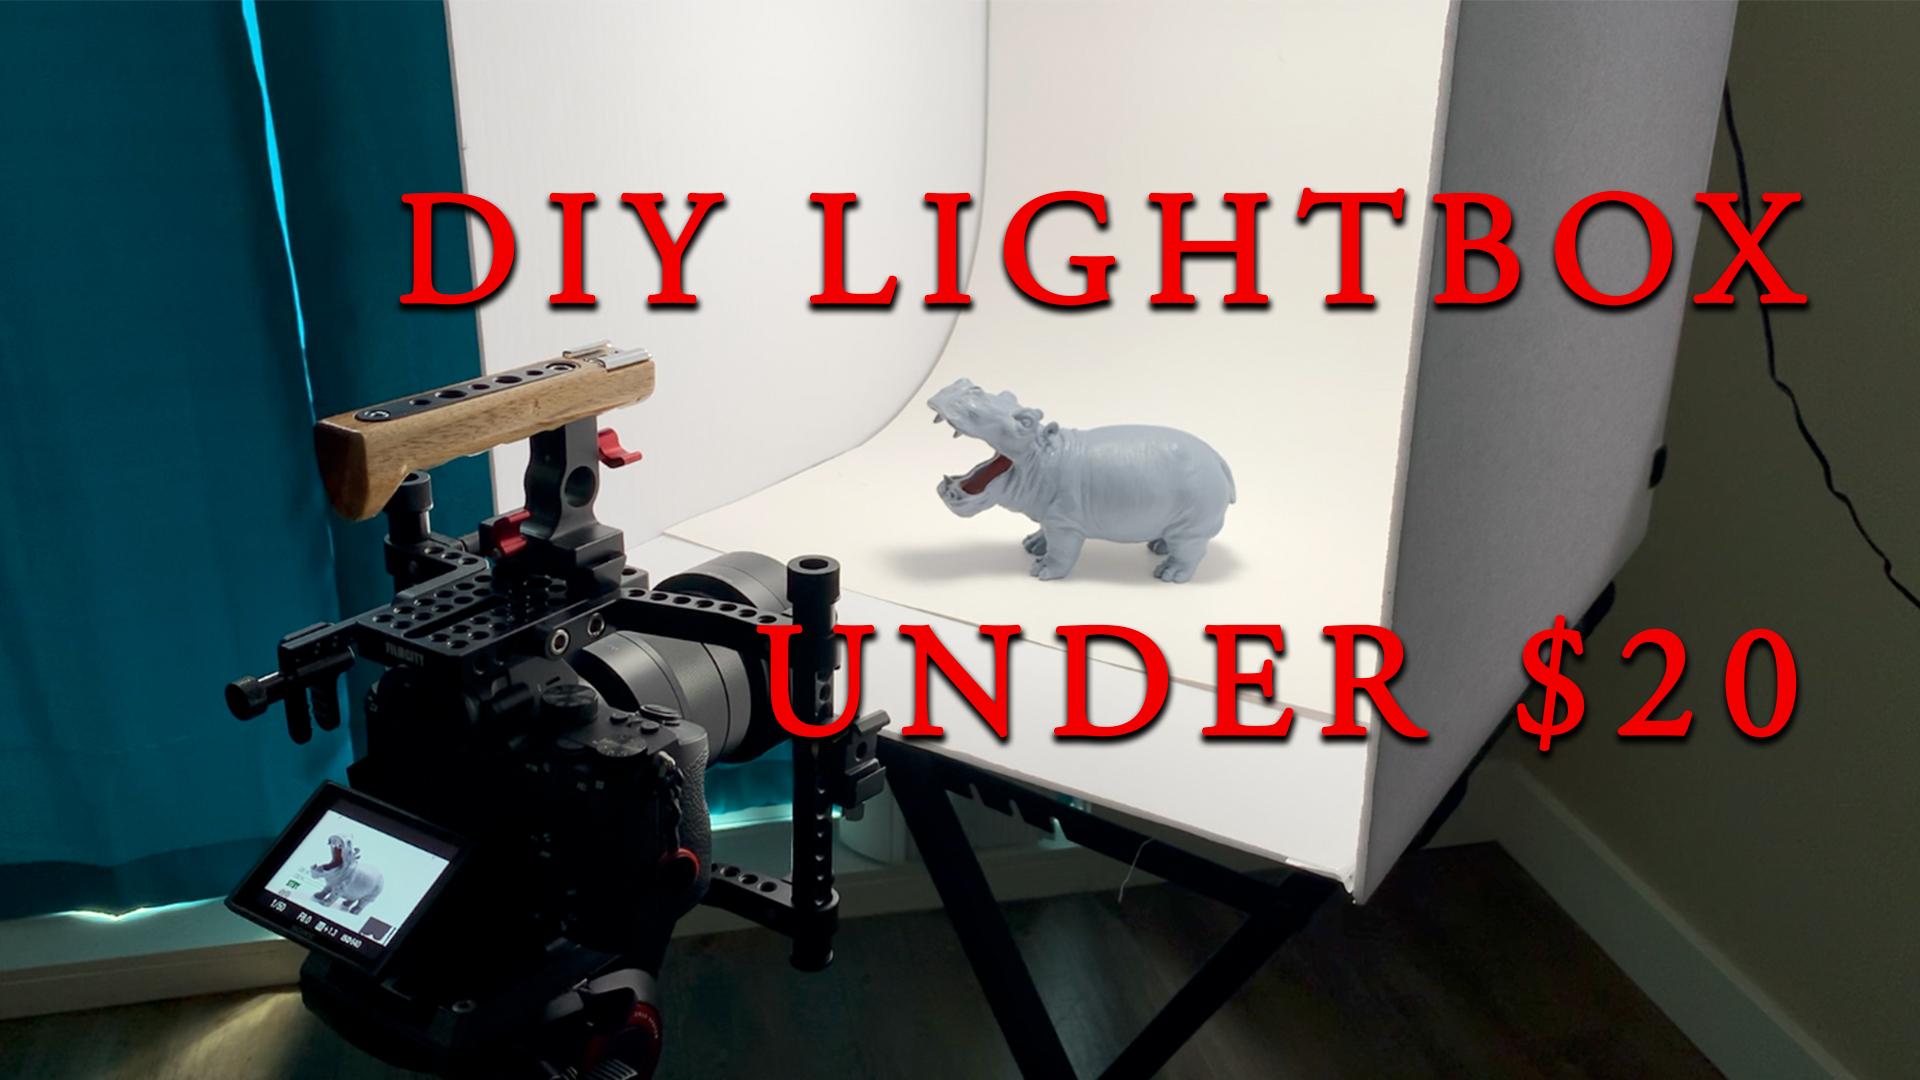
At this point, you should be ready to try your first shot and test it out.
- Put a product or object in your lightbox.
- Set your camera up on a tripod.
- Set your shutter, iso, aperture, focus, and take your photo. If you would like to learn more about setting up your camera or more about how to shoot a product with this setup, there are a ton of those videos on youtube.
I hope this was a fun DIY project for you and I would love to hear about how yours turned out. Leave a comment below.
I can’t wait to see you next time. Until then, bye for now.